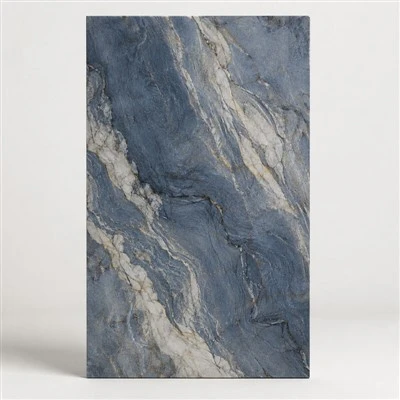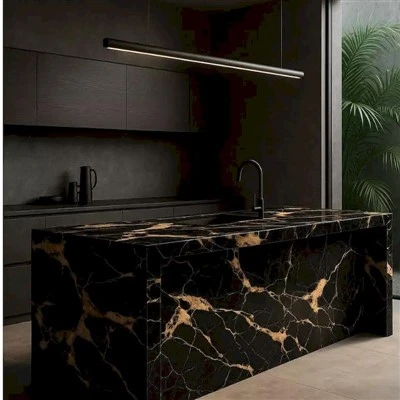
Mechanical failures in sintered stone-such as edge chipping, transport cracking, and structural splitting-are entirely preventable anomalies caused by improper tension-release protocols and non-compliant site installation. Slabs processed via Sintering technology retain high internal density that requires specialized diamond tooling and continuous linear load-bearing substrates to eliminate stress concentration points. Implementing factory-validated fabrication parameters reduces material failure rates to less than 1.5% across large-scale commercial projects.
Root Cause Analysis of Structural Failures
The structural performance of sintered stone relies on its uniform crystal matrix, compacted under a 30,000-ton press. When fabricators treat this engineered material like standard granite or quartz, structural failure occurs along predictable kinetic lines.
| Common Defect | Primary Root Cause | Technical Mitigation Protocol |
| Edge Chipping | Vibration from incorrect saw blade bond type | Use soft, bronze-bonded diamond blades; cut at 1,600 RPM |
| Stress Cracking (at cutouts) | Square 90° inner corners inducing tension lines | Pre-drill all internal corners with a minimum 5mm radius |
| Slab Fracturing (during transit) | Flexural deflection from vertical-to-horizontal transport | Deploy rigid aluminum-frame suction bars during shifting |
| Surface Lippage | Unlevel substrate or incorrect clip spacing | Max allowable substrate deflection must not exceed L/360 |
Perimeter Edge Chipping and Rectification
Edge chipping occurs when the peripheral velocity of the bridge saw blade creates resonance that fractures the brittle boundary layer of the slab. Sintered stone possesses a Mohs hardness of 6–7, which causes rapid tool glazing if the diamond matrix cannot wear away to expose fresh grit.
To prevent edge damage, fabricators must trim a mandatory 20mm from all four unrectified borders of the raw slab before finishing cuts. This releases the perimeter tension zone generated during the cooling phase of production. If a minor chip occurs during operations, it cannot be disguised using standard polyester resins; instead, fabricators must use high-solid epoxy resins mixed with crushed material powder from the same production batch to maintain structural color matching.
Internal Stress Analysis and Cutout Failures
The highest concentration of failures occurs around sink and hob cutouts. Straight plunge cuts that form sharp 90-degree internal angles create an immediate stress concentration point. Thermal expansion from cooking elements or minor settling of the cabinetry will push kinetic energy toward these sharp angles, resulting in a clean diagonal split through the slab.
Mandatory Processing Rules for Cutouts:
- Pre-drilling: Fabricators must pre-drill all corners of a cutout using a thin-wall core drill before starting linear cuts.
- Radius Minimums: The internal corner radius must never be less than 5mm (10mm diameter hole).
- Boundary Clearance: Maintain a minimum distance of 50mm between any cutout edge and the outer perimeter of the countertop. This preserves the material's structural capacity to distribute localized heat and maintain its native Thermal shock resistance.
Substrate Incompatibility and Structural Flexing
Sintered stone is completely rigid and lacks the flexible polymer resins (7–10%) found in engineered quartz. Therefore, it cannot adapt to unlevel installation surfaces. If a 12mm or 20mm slab is laid on a distorted frame, a localized impact load-such as dropping heavy commercial cookware-will bridge the void underneath and cause structural fracturing.
All horizontal surfaces require flat, continuous substrate support using high-density polyurethane foam strips or marine-grade plywood. For exterior applications, the material's absolute UV resistance ensures color stability, but the structural anchoring systems must use flexible polyurethane adhesives classified as C2TE S2 to absorb thermal expansion differentials without transferring shear stress to the slab.
FAQ: Structural Performance & Failure Mitigation
How do you repair a chipped edge on a polished full-body slab?
Clean the damaged area with acetone. Mix a bi-component epoxy resin with matching inorganic pigment powder from the original slab. Fill the chip, allow 24 hours to cure, and level the patch flush with the surface using graduating diamond polishing pads from 400 to 3000 grit.
Why did my slab crack during a simple straight cut?
This occurs when the fabricator fails to execute the perimeter trim cut. The residual kinetic tension inside the raw edge releases suddenly when the blade penetrates the core, causing a structural fracture before the blade finishes the linear pass.
Can bookmatched layouts hide visible seams if a crack is repaired?
No. While Bookmatched slabs offer continuous vein symmetry, a structural repair line breaks the optical continuity of the pattern. It is critical to follow correct cutting protocols to prevent cracking, as repairs remain visible upon close inspection.